After waiting and waiting for Fastershire (Gloucestershire’s BDUK arm) to finally roll out super-fast broadband to my area, it was finally confirmed that we would not be receiving mere FTTC from BT, but in fact full FTTH from Gigaclear!
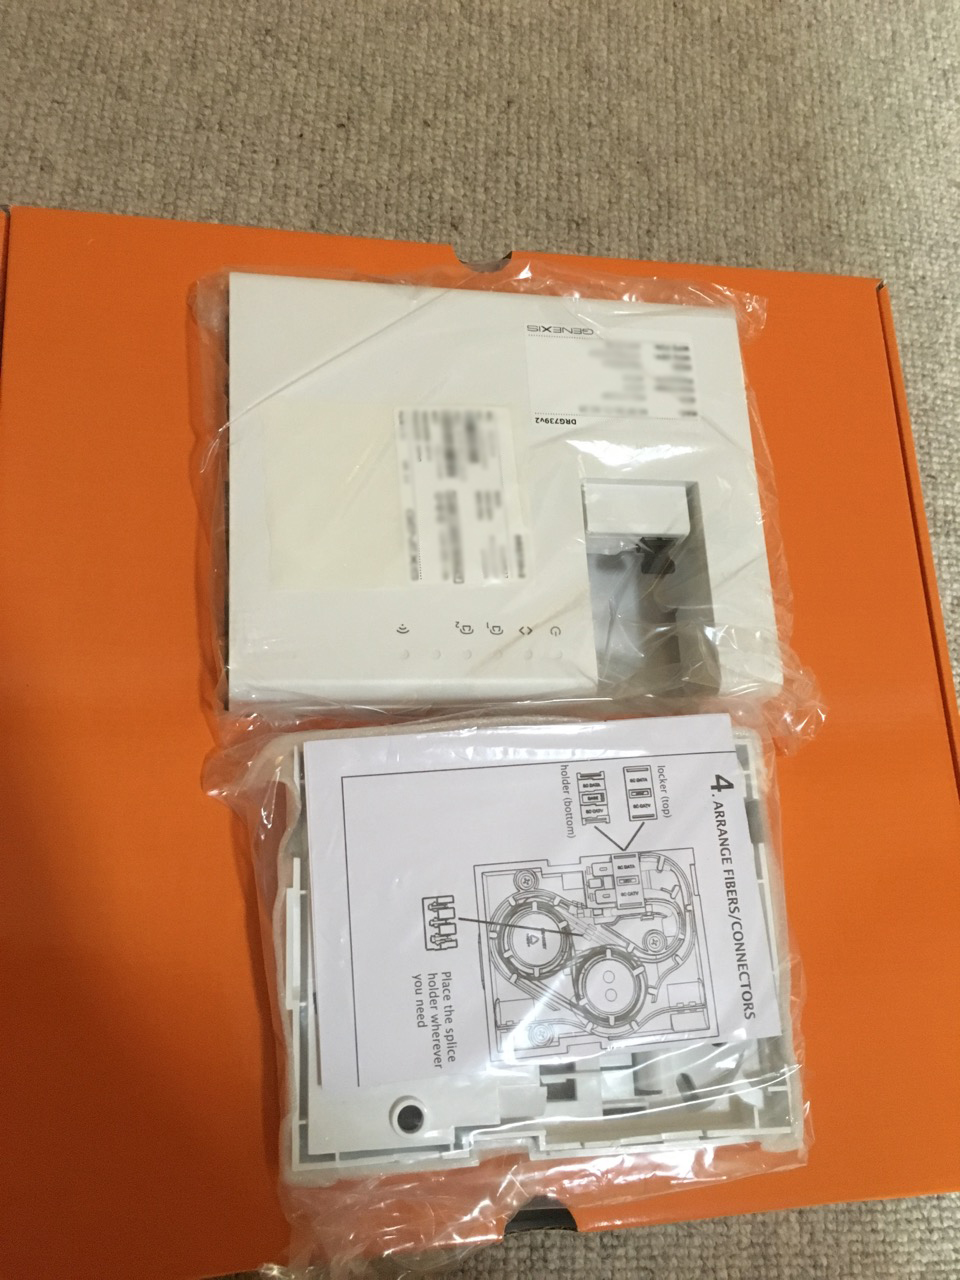
The Gigaclear order was placed all the way back in December 2015, before any of the work had even started. Then in June of this year, Gigaclear’s contractors began to dig up the side of the road to lay the fibre cabling. Finally, at the end of August, we received this package through the post:
The self install kit can be ordered with different cable lengths, ranging from 10 to 50 metres. You can also request even longer lengths up to 100m, but they will charge you for this. Since Gigaclear only bring the fibre cable up to the boundary of your property, they supply the remaining cable for you to bring it into your house.
The pricing options for Gigaclear are not cheap. You have to consider that you are receiving a premium internet connection, and I feel the price reflects this. On top of the monthly price plan, they charge a flat £100 ‘connection fee’ that is mandatory, and then if you don’t choose self install, the installation fee ‘starts from’ £95. So potentially before you’ve even got your internet connection, you’ve spent £200. Most practical people should be able to easily install the service without paying for the installation fee, however, as we did.
The monthly price plans are as follows (all speeds are symmetric):
50 Mbps – £39.90
100 Mbps – £45.25
200 Mbps – £52.45
1 Gbps – £74.00
I opted for the 100 Mbps plan, since it’s fast enough for pretty much everything. A 50 Mbps connection could become limited in the future with 4K video streaming, for example.
Anyway, back to the installation. Within the installation box you receive quite a lot:

Power supply, ethernet cable, 2 wall entry points, an external cable duct, cable ‘pusher’, silicon sealant, and 100 cable clips.
There are fairly comprehensive instructions that come with the box, and at no point during the installation was anything unclear.
To begin with, we started at the Gigaclear junction ‘pot’ that had been placed on our boundary verge by the road:
Inside, you will find a smaller black box that contains the actual connection point:
Inside the small black box, you will find this:
 Unfortunately when I opened up the black box, it hadn’t been closed properly, and a slug family had decided to move in. I washed both the box and the lid as best as I could, but you can still see some of the remains in the picture! The lid of the box has a rubber seal that fits tightly against the junction box, and the cable entry points have rubber grommets to prevent water (and slug) ingress. Finally a screw is provided to tighten it together.
Inside the junction box, it looks like there may actually be 2 ‘fibres’ in the orange cable. If you look closely there appears to be both a red and green cable coming out of it. It just shows how thin these fibre cables really are once you strip away all of the insulation (and even these cables have a very thin layer of insulation on). Underneath the screw in the picture, there is a long tube – this is where the fibre cable from the ground is spliced to the cable that goes to the blue connector. You then get the thicker red fibre going into the connector, ready for a customer to plug into.
The connector appears to be the ‘SC’ standard. It clipped pretty easily into the one in the junction box.
We started by digging a trench from the box to our boundary wall. The Gigaclear ground ‘pot’ has a hole around 2 inches deep behind the hinge, that allows you to feed the cable through. To protect the cable, we placed it inside some hosepipe tubing for the short distance that it was underground. Once at our wall, we drilled a hole through it, and then the rest of the journey we actually just clipped the cable to the back of the wall with the provided cable clips. Digging through hard earth and gravel is extremely difficult without power tools. Plus, the cable is probably safer above ground level in the event of any digging work being done in the future.
Interestingly, I ordered 50M expecting to only use around 30M of it. However, I ended up using almost the entire length of the cable! So I would definitely advise going longer than necessary – fibre isn’t like copper wire so the difference in length of say 25 vs 50 metres of cable doesn’t matter.
Getting the cable inside was easy, so was installing the ‘base plate’ that the router clips onto. The end of the fibre cable fits snugly inside the base unit, and the router literally slides up and makes contact with it. It was all pretty easy for anyone with basic DIY ability.
The finished router mounted on the wall:
With the installation finished, all that remained was logging on to the internet – you have to enter your address details and Gigaclear customer number first, and then it just worked.
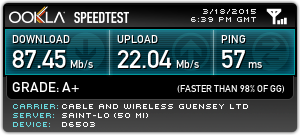
Obligatory speed test result:
Pretty impressive! The low latency is probably the most impressive thing, since I’ve had experience of GPON installations elsewhere that had much higher latency. Gigaclear uses point-to-point fibre, not GPON, so you’re not sharing the fibre cable with anyone else (at least up until the cabinet, anyway).
It’s also worth noting that like many smaller FTTH providers, Gigaclear offers symmetric connection speeds on all of their plans. Even though BT offer FTTH plans in some places of the country, the upload speeds are not symmetric (I believe they offer a 330/30 service).
The supplied router is reasonable, certainly much better than Telefonica Movistar’s one provided in Spain for my FTTH there (it had extremely slow wifi). The Gigaclear router comes with 2×2 MIMO 802.11ac, obviously dual band 2.4/5Ghz. This is certainly reasonable, though really a 3×3 MIMO product would’ve been better, considering they do offer up to 1Gbps connections. It comes with 4 gigabit ethernet ports, as well as 2 telephone jacks (not used – unless the Vonage service uses them – I’m not actually sure).
The router interface is somewhat locked down: it lacks a few key features such as Dynamic DNS, bridging, and the ability for it to respond to ICMP packets externally. It’s adequate, but the power user in me would prefer something a bit more advanced. Sadly you have to use the provided router, and unlike Virgin Media, who allow you to bridge the connection to your own router, Gigaclear don’t offer this without having to pay for it (which is ridiculous – £4.17 per month).
If we consider the price of the connection, I would expect a few more options to be available without charging extra:
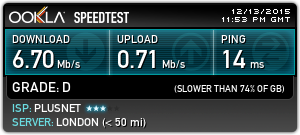
- A static IPv4 address without charging £2 per month for it. Also, this option is only available on the 200Mbps and 1Gbps packages (Why?). For reference, PlusNet charged me an £8 one-off fee for a static IP on their standard ADSL product.
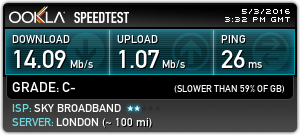
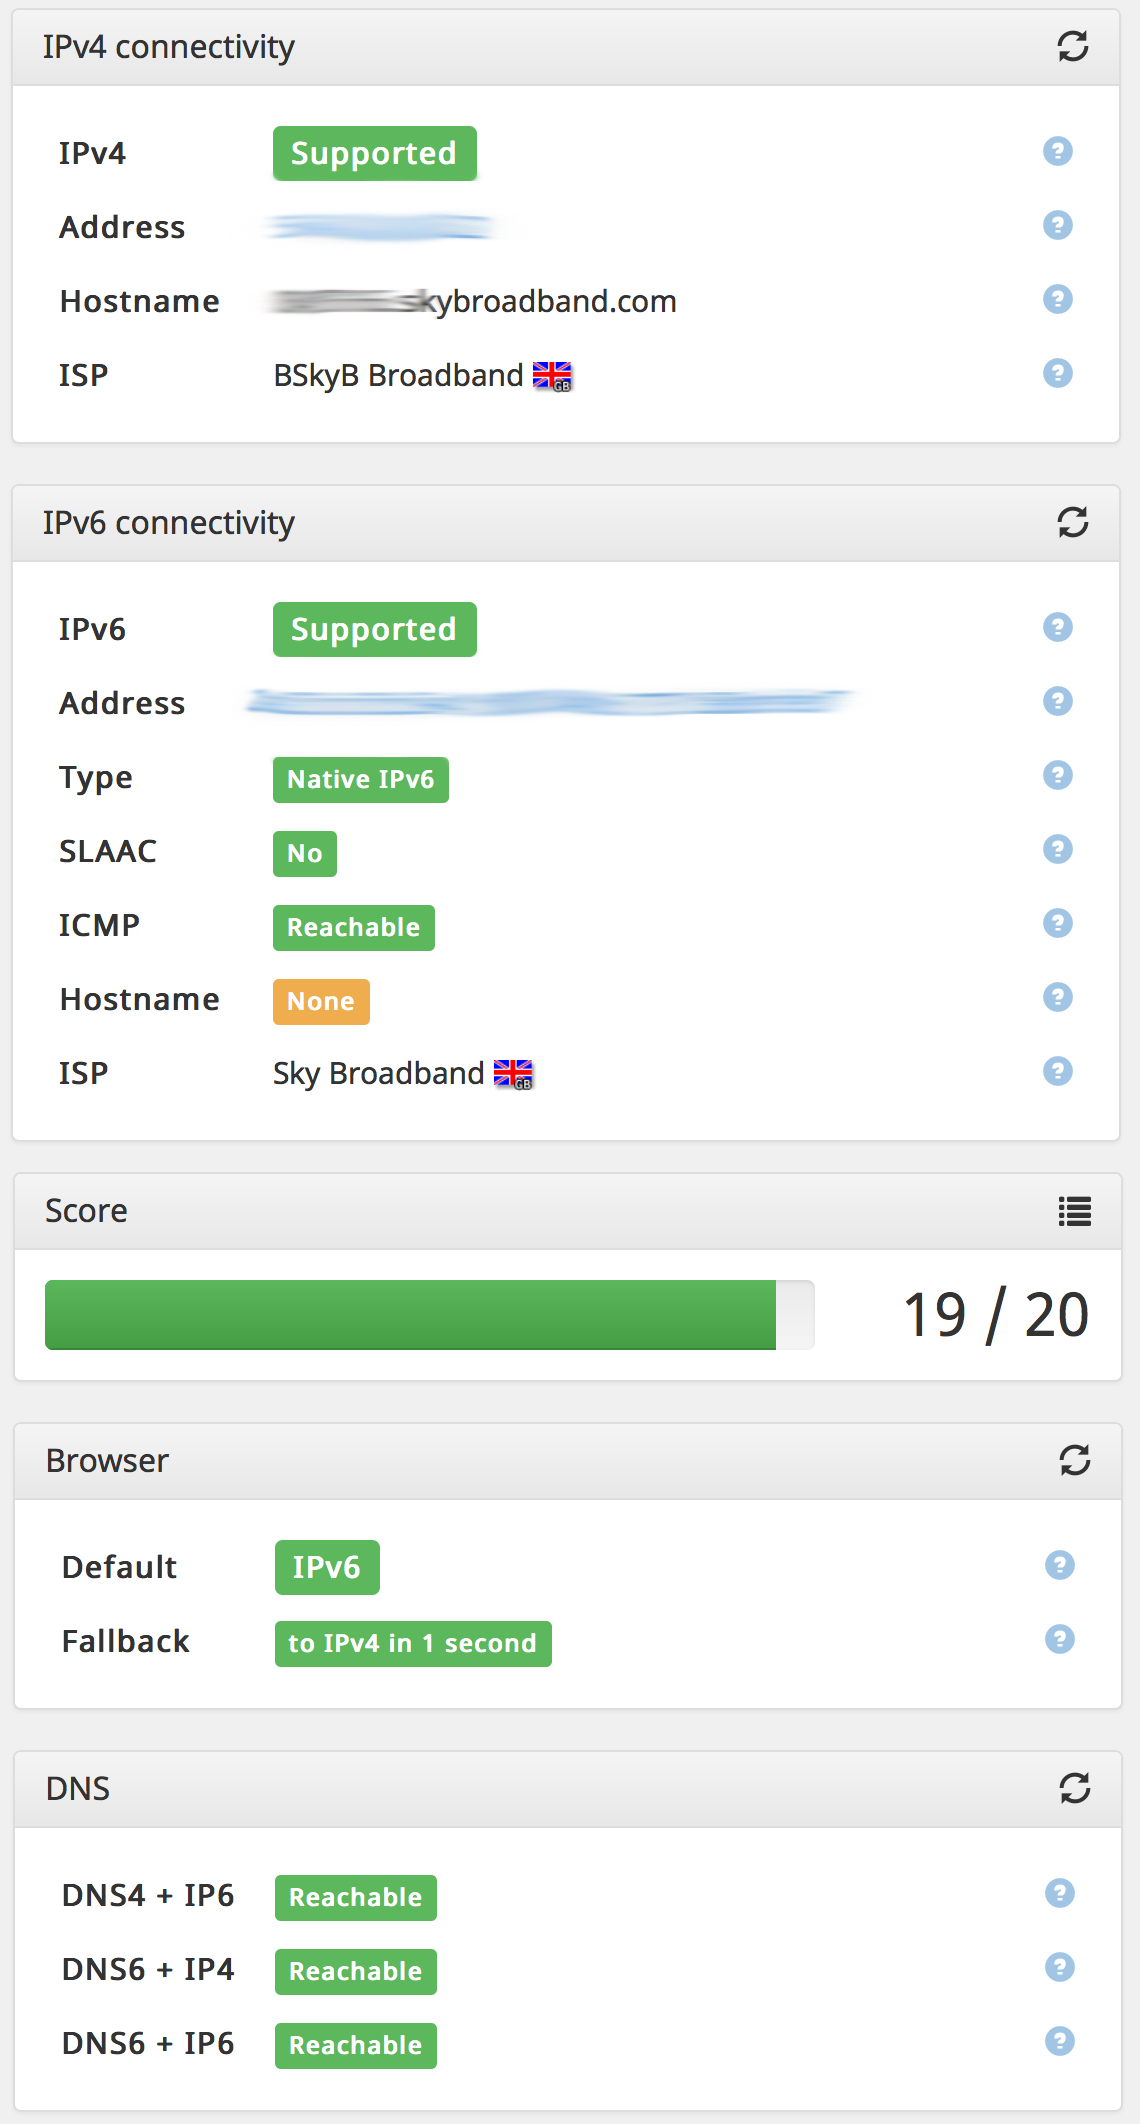
- IPv6 support. Gigaclear claims to have built an ‘IPv6 capable’ network, but seem to have not found the ‘on’ switch yet. Sky broadband, who I am switching away from, offer IPv6 to pretty much all their customers, and BT are very soon rolling it out to their customers. Meanwhile most small ISPs have been offering IPv6 for much longer. It might not be important to many people, but it’s one of those things that should be standard on a ‘next generation’ internet connection.
- Bridging mode. This is only available to Business customers who then have to pay an additional monthly charge. Why? Virgin Media offer a bridging / router only mode to all of their customers by default, without charging for it. Surely this is a feature that could be enabled without any actual ongoing cost in the router interface itself?
Aside from these minor gripes, the connection is otherwise excellent. It does annoy me that I am downgrading my internet connection in some areas, whilst improving it in others. The lack of a dynamic DNS client built into the router is probably the most annoying of the problems. It just means I have to run a client on a computer all the time.
So would I recommend Gigaclear? The answer is absolutely yes. Despite some flaws that won’t effect 99% of people, it delivers a vastly superior connection compared to pretty much anything else out there at the moment.

